To make a car battery charger, gather materials/tools, connect a rectifier, and attach to a battery. Making a car battery charger involves a few simple steps that can save you time and money.
By following these steps, you can create a charger that will be reliable and effective for charging your car battery when needed. Whether you are a DIY enthusiast or just looking to expand your skills, this guide will walk you through the process, allowing you to have a functional car battery charger in no time.
So, let’s dive in and explore the steps involved in creating your very own car battery charger.

Credit: m.youtube.com
Gathering Materials
To make a car battery charger, you will need to gather the necessary materials and tools. When it comes to choosing the right components, make sure to select high-quality ones that are compatible with your car’s battery specifications. The most important components include a transformer, rectifier, voltage regulator, and a capacitor. Additionally, you will need various electrical wiring, connectors, and soldering equipment. It is crucial to assemble the necessary tools before starting the project. These tools include wire cutters, pliers, a soldering iron, and a multimeter for measuring voltage and current. Remember that safety is key, so always wear protective gear such as gloves and goggles while working with electrical components. Once you have gathered all the materials and tools, you can move on to the next step of the car battery charger creation process.
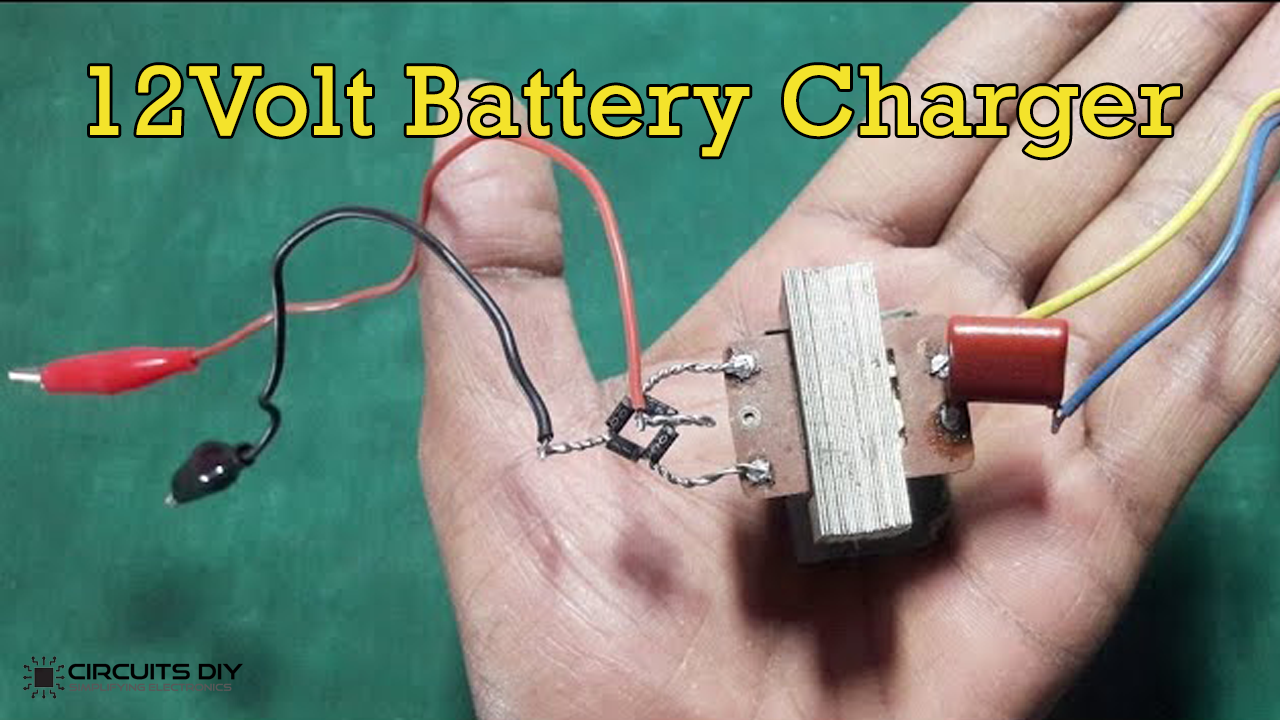
Credit: www.circuits-diy.com
Understanding The Circuit Design
To understand the circuit design for a car battery charger, you need to consider the voltage and current requirements.
Choosing the appropriate charging method is crucial to ensure the longevity and efficiency of the battery.
Building The Charger
To make a car battery charger, start by gathering the necessary components. Connect the components according to the circuit diagram provided. Make sure to double-check all connections and ensure everything is secure. Once the charger is assembled, it is time to test it. Plug the charger into a power source and connect it to the car battery to see if it charges properly. If the charger is working correctly, you can proceed to use it to charge your car battery whenever needed.
Ensuring Safety Precautions
Ensuring safety is crucial when it comes to handling electrical components while making a car battery charger. To prevent short circuits and maintain a safe working environment, several precautions should be taken.
First, always wear appropriate personal protective equipment (PPE) such as rubber gloves and safety goggles. This will protect you from potential electrical shocks and other hazards.
Second, make sure to work in a well-ventilated area. This helps prevent the accumulation of toxic fumes that may be released during the charging process.
Third, avoid using damaged or frayed cords and cables. Inspect all electrical components thoroughly before use to ensure they are in good condition.
Additionally, it is important to disconnect the charger from the power source before making any adjustments or repairs. This minimizes the risk of electric shock and other accidents.
In conclusion, by following these safety precautions and handling electrical components safely, you can ensure a secure and successful car battery charger project.
Using The Car Battery Charger
When charging a car battery, it is important to follow the proper procedure. Ensure the charger is unplugged from the power source before connecting it to the battery. Next, connect the positive cable to the positive terminal of the battery and the negative cable to the negative terminal. Set the charger to the appropriate charging mode and voltage. Allow the battery to charge fully before disconnecting the charger. To maintain the battery charger, regularly inspect the cables for any damage and clean the terminals to prevent corrosion. Store the charger in a cool, dry place when not in use to prolong its lifespan.

Credit: www.instructables.com
Frequently Asked Questions For How To Make A Car Battery Charger
How Can I Charge My Car Battery Without A Charger?
You can charge a car battery without a charger by jump-starting it with another vehicle. Connect the batteries with jumper cables and let the working vehicle run for a few minutes to charge the dead battery. Be sure to consult your car’s manual for specific instructions.
Can I Charge A 12v Battery With A 12v Power Supply?
Yes, you can charge a 12V battery with a 12V power supply. Make sure to connect the positive and negative terminals correctly for safe and effective charging.
How Can I Charge My Dead Car Battery At Home?
To charge a dead car battery at home, you can use a battery charger or jumper cables connected to another vehicle with a charged battery. Make sure to follow safety guidelines and connect positive to positive and negative to negative terminals.
What Is The Easiest Way To Charge A Car Battery?
The easiest way to charge a car battery is using a battery charger or jump-starting with jumper cables.
Conclusion
Creating your own car battery charger is a cost-effective and practical solution. By following the steps mentioned in this guide, you can save money while ensuring the reliability and functionality of your car battery. Remember to adhere to safety precautions and consult a professional if needed.
Get started on this rewarding DIY project and enjoy the convenience of a fully charged car battery at your fingertips.